Compressed Air Installation Tips
Proper compressed air line installation is critical for maximizing the efficiency of your system. Installing your compressed air line with the best types of pipes can extend the longevity of your system.
Follow the compressed air line installation tips below:
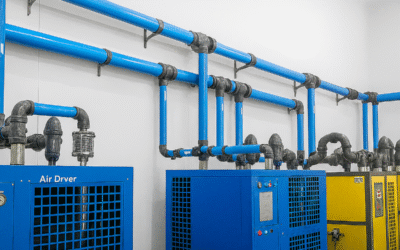
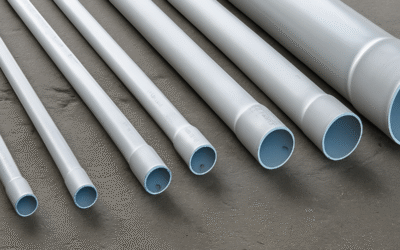
- Choosing pipe materials – You should use aluminum compressed air pipes in your systems as they are more durable and require less maintenance than their counterparts. While at an higher initial cost than PVC, aluminum pipes have a greater versatility and compatibility with fittings.
- Cutting and resizing – You’ve made the great choice of investing in aluminum compressed air pipes, congratulations. Never use a hacksaw when cutting your tubing down, instead use a pipe cutter to ensure precision cuts through your pipe. They are not only more accurate but faster and more efficient than alternative cutting tools.
- Deburring pipe for fittings – While the pipe cutter will make your life easier and work shorter with reducing your line length down, you will still need to deburr all of your pipes to ensure they can be inserted into your fittings. We suggest using a pen style deburr tools for precise deburring of holes.
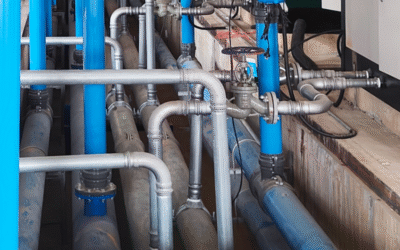
- Secure your pipe and fittings – When you pipes are in place, ensure they are stable. We recommend installing 2 or 3 pipe clips in 20 foot increments with additional clips around heavier fittings such as valves. Avoid using a tool with grooved metal jaws when tightening your system.
Once your compressed air system is installed it is time to test your system. Inspect your compressed air lines one last time for anything out of place. Afterwards review the specifications of your system prior to the initial test. This initial test should always be done utilizing necessary safety precautions and using significantly lower pressure levels.